To create a patch using the WiX template, complete the following steps. As an example, the steps needed to create a patch for the sample integrating application are described.
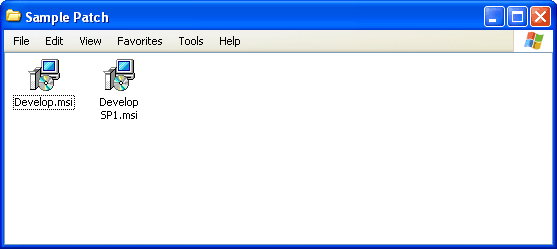
The steps for creating the patch will be performed in the working folder. For this example, the folder is named “Sample Patch” and is located at the root level.
These are the complete working baseline installer, and the updated installer. For this example, these are Develop.msi and Develop SP1.msi.
![]()

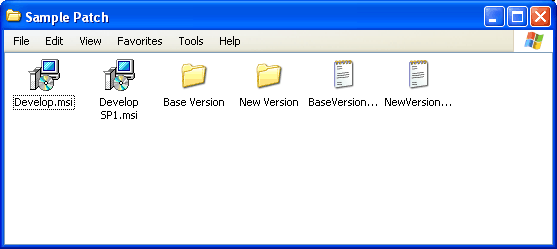
Create a folder for the “baseline” installation, and another folder for the updated installer. The files from each installer will be placed in these folders. For this example, the folders are named “Base Version” and “New Version”.
![]()

Open a command prompt. Set the current folder to the working folder where you are building the patch. Use the following syntax with the msiexec command to extract the contents of each installer file:
msiexec /a file.msi /qn TARGETDIR=path ADMIN_PATCH_CREATION=1 /l*v logfile.log
Replace file with the name of the MSI file you’re extracting. Replace path with the path to the folder where you want the extracted files to be placed. Replace logfile with the name of the log that will contain status information about the process.
For example, the following two commands are used to extract the baseline and updated installers for the sample integration:
msiexec /a "Develop.msi" /qn TARGETDIR="C:\Sample Patch\Base Version" ADMIN_PATCH_CREATION=1 /l*v BaseVersion.log
msiexec /a "Develop SP1.msi" /qn TARGETDIR="C:\Sample Patch\New Version" ADMIN_PATCH_CREATION=1 /l*v NewVersion.log
After the extraction, the log files will have been created and the folders will have the contents of the two installers.
Copy the Patch.wxs template into the working folder from the Installer folder in the Samples folder for Dexterity.
Using a text editor, modify the Patchwxs template. You will make changes throughout this file. Specify the following:
Patch ID This value is a GUID that uniquely identifies the patch.
Output path This string specifies the name given to the patch file, as well as the location it will be placed.
Patch information These strings specify the comments, description, and manufacturer for the patch.
Patch metadata These strings specify the description, display name, manufacturer, and so on for the patch.
UpgradeImage This element specifies the locations of the two installers that will be compared to create the patch. For the UpgradeImage src attribute, specify the installer file in the “New Version” folder. For the TargetImage src attribute, specify the installer file in the “Base Version” folder. For example, the following is the UpgradeImage element for the sample patch:
<UpgradeImage Id="SP1U" src="C:\Sample Patch\New Version\Develop SP1.msi">
	<TargetImage Id="SP1T" src="C:\Sample Patch\Base Version\Develop.msi"
	Order="1" Validation="0x00000920"></TargetImage>
</UpgradeImage>
Target product codes These GUID values identify the individual instances of your integration installed on a Microsoft Dynamics GP system. The first TargetProductCode must be set to the Product Id GUID specified at the beginning of the original installation’s .wxs file. The remaining 50 GUIDs must be set to the 50 GUIDs used in the Transform.xml file used for multiple-instance support.
Open a command prompt. Set the current folder to the working folder where you are building the patch. Use the following syntax with the candle command to compile the project:
candle filename.wxs
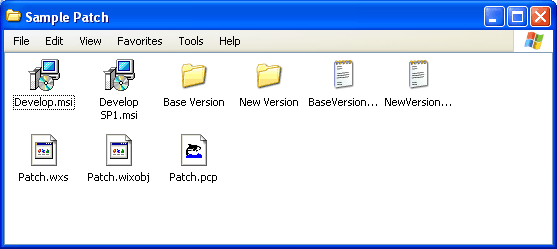
Replace filename with the name of your patch project file. The command should process, create a .wixobj object file, and not display any errors. If errors are displayed, correct them and compile again.
The linking process creates the .pcp file that will be used to make the patch. Use the following syntax with the light command to link the patch project:
light filename.wixobj
Replace filename with the name of your patch project file. Again, no errors should be reported.
![]()

Locate the MsiMsp.exe application, which is part of the Windows Installer SDK included with the Win32 Platform SDK. Typically, this file will be found in C:\Program Files\Microsoft SDK\Samples\sysmgmt\msi\Patching\ folder.

|
You may want to consider adding the location of this file to the PATH environment variable. |
Execute the following command to create the .msp file:
MsiMsp.exe -s PCPfile.pcp -p patch.msp -l logfile.log
Replace PCPfile with the name of the .pcp file you created in the previous step. Replace patch with the name you want to use for the patch file. Replace logfile with the name of the log to which results will be written.
For example, the following command is used to create the patch for the sample integration:
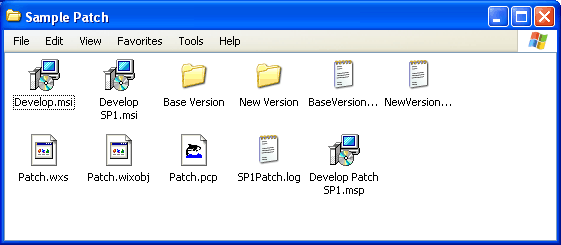
MsiMsp.exe -s Patch.pcp -p "Develop Patch SP1.msp" -l "SP1Patch.log"
You will receive a warning indicating the versions of the two installers do not match. That’s OK for this patch, so click Yes to proceed.
![]()

The patch file will be created.
![]()

The patch is complete, and can be tested in a Microsoft Dynamics GP installation. When you install the patch, it will verify that a version of your integration exists that is valid to upgrade. If one exists, the patch will be applied and appear in Add/Remove Programs. This is shown in the following illustration:
![]()
![]()
When you launch Microsoft Dynamics GP, the updated code will be merged in.